Thursday, March 21, 2013
Sunday, March 17, 2013
Sensory Writing
This is a great way to get your students working on letter and number strokes. I used an old clear picture frame box because it was free and it keeps the salt/sand from getting all over the place.
Materials:
Clear Photo Frame
Construction Paper
Contact Paper
Scissors
Double Sided Tape
Salt/Sand
For a rainbow background, cut your pieces in these dimensions. Lay the pieces evenly and secure with the double sided tape.
Place contact paper over the construction paper to keep the salt from going under the paper.
Spread the salt on top of the contact paper and have kids practice handwriting strokes.
Put the salt in a plastic bag and pack it all away by putting the back over the materials.
Saturday, March 16, 2013
'Stained' Glass
Here is another project to complete with the painted tin foil from the Window Art Project (Click Here to See). Just use the left over scraps and have kids tear it (fine motor) and place on contact paper. Add another piece of contact paper on top to hold the pieces in place. Hang is the window for some beautiful art.
Friday, March 15, 2013
St. Patrick's Day Font
Click the links below to get your Free Font!
Harrington- Microsoft Word Font
PatrickKG Luck of the Irish
Water Street
Lego Rainbows
Print off a black and white rainbow and write the colors in the correct spaces.
Have the kids use Legos to build their own rainbows.
Thursday, March 14, 2013
Rainbow Crayons
Use rubber bands to bind the colors of the rainbow together. This makes it easy for all the little ones to create their own rainbows.
Wednesday, March 13, 2013
Window Art
This window art is both visual and tactile. It is a great way for kids to explore light and color, while adding a beautiful window display. Here is how we created it:
Start with tin foil and paint. Have the students paint a thick layer of paint on the tin foil.
Let it dry and then comes the fun part! Lay down a piece of contact paper and have the kids rip and crinkle the tin foil over the contact paper.
Place another piece of contact paper over the paint chips and tape the edges with clear tape. Hang up in the sunlight and enjoy the colors!Monday, March 11, 2013
Car Wash Play
What could be more fun than bubbles and cars?
This is a fun and clean way to keep the kids busy. Create your own Car Toy Wash with simple items such as the following:
Toy Cars
Brushes/Sponges
Soap and Water
Have them grab a car and start scrubbing away!
Cleaning the table and floor around the car wash is just bonuses to this activity.
Saturday, March 9, 2013
Sorting Animals
A fun way to combine math, science, literacy and play is by having the kids make a zoo of animals. This works on their sorting skills and is an opportunity to talk about different animal characteristics. I also had the kids make signs for each of the animal cages to work on their writing.
All you need is a basket of animals!
This project is great for all the kids because it involved building too! Many of the boys joined in and had fun creating the cages to hold the animals.
I wrote out the signs and the kids copied them. What a great way to help them practice writing their letters.
Friday, March 8, 2013
Recycled Can Process Art
Saturday, March 2, 2013
Free Fonts
Click on the links below to get your fonts!
1. Cafe & Brewery2. Lobster Two
3. 5th Grade Cursive
4. Birth of a Hero
5. Hand Times
6. Calvin and Hobbes
7. Machine Script
8. Luck of the Irish
Friday, March 1, 2013
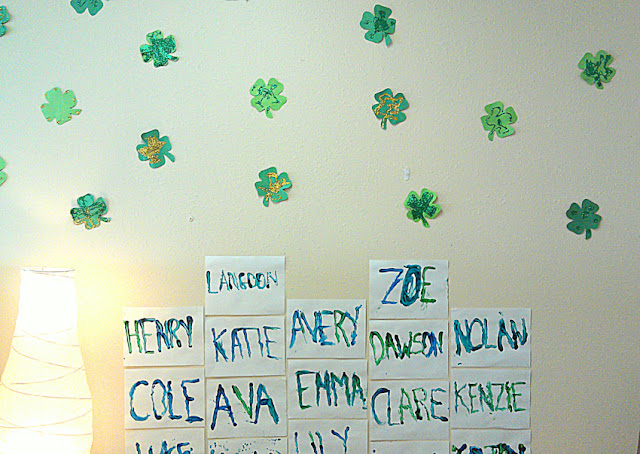
March Shamrocks
Easy and messy shamrocks that are fun to make and beautiful to display.
Have kids create a glue design on a cut out of a shamrock.
Watch as they turn the shamrocks into glittery art! (FYI: This will turn into a glitter explosion)
Add to a classroom wall or hang from the ceiling. Enjoy the March fun!
Subscribe to:
Comments (Atom)


.jpg.jpg)


.jpg.jpg)


