Showing posts with label Fall Holidays. Show all posts

Wednesday, November 7, 2012

Thanksgiving Upcycle Wreath

Thanksgiving Upcycle Wreath
What You Need:
Paper Bags
Cardboard Box
Hot Glue
Scissors
Cut out a cardboard circle to glue leaves to.  Use a dinner plate for the outside circle and a small plate for the inner circle.
Cut out 11"x8.5" pieces from the paper bags.
 I created a Thanksgiving printable for this wreath. Get it at this link: Thanksgiving Printable
 Print off the Thanksgiving Printable on the pieces of cut out paper bags.
Trace a leaf on the back of the pages.  I also used plain paper bags.
 Crease the leaves down the middle.
 Attach a ribbon to hang.
This is a wreath that I made with my students.  We finger painted the paper bag with orange paint and sprinkled the leaves with glitter.  It proudly decorates our classroom door!

Saturday, November 3, 2012

Thanksgiving Acorn Treats

A sweet treat that is the perfect size...Thanksgiving Acorns!  These simple scrumptious bites are easy to make and eat.
What you will need:
Nutter Butter Minis
Hershey Kisses
Mini Chocolate Morsels
Baking Chocolate
Technically speaking the first step is to unwrap all those Hershey Kisses.  This is actually the longest part of this process! After you unwrap, melt the chocolate in a heat safe bowl over boiling water.
When chocolate is melted, dip the Hershey Kiss flat side down in the chocolate.  Then place the Kiss on top of a mini Nutter Butter.  Let the Kisses cool completely before moving on (it makes it easier and keeps the acorn pieces together).
Dip the mini chocolate morsel into the chocolate, then place on top of the Nutter Butter and...
...you have made a delicious acorn treat!  Easy and Oh So Cute!
Enjoy, but be careful not to eat the entire batch (I ate several during the making process)!

Friday, October 26, 2012

Halloween Witch Hat

This year, I made a simple little witch hat head band for my costume.
Here is how it is done:

What you need!

Start by taking the felt and fold it over to match the other side of the felt.

Cut a cone shape from the folded piece, and use hot glue to close the cone.

  Turn the cone inside out and cut small slits on the bottom.  Then glue the small flaps together to form a base (sorry the picture is blurry!).
Cut a circle for the brim of the hat.  Also, put a small circle in the middle, so you can stuff it!  Glue the cone to the middle of the circle.

Put some stuffing in the cone, so it keeps it shape.

Glue the headband to the bottom.  Then glue a piece of circle felt to cover the hole and secure the headband to the hat.

Add some cute accessories, and you have a simple hat!


Wednesday, October 24, 2012

Halloween Decor

It is always a treat to get to decorate for the holidays.  Halloween is an exciting time to try some new ceative ideas.  I got a little spooky this year with some pictures.  I had a lot of fun with it!  Here are a few ways I created a hauntingly awesome home!
 A not so spooky front door area.  A welcoming comfort for those trick-o-treaters!
I created these scary photos from pictures of Chris and I with photos online, then screened them with the Picasa editing program.
These cute candle holders are just spray painted cans! Get the tutorial here.
Also, the simple 'boo' is just painted onto a piece of construction paper and framed.  Frames are a great way to change out for seasonal decoration.

Monday, October 22, 2012

Spooky Ghost Cookies

I have been making these Halloween treats since I was in elementary school.  They are so simple and sweet that it is a must for every year.  This is a great cookie to make with kids too!  Here is how you make these 'boo'rific tasty treats:
The stars of the show:
Vanilla Baking Chocolate
Nutter Butters
Mini Chocolate Chips
Melt the Vanilla Chocolate.  Dip the Nutter Butters into the melted chocolate. 
Place on a piece of tin foil.
Add two mini chocolate chips for their eyes.
I ran out of vanilla chocolate, so one of my ghost was indecently exposed!
These treats are so hauntingly delicious that you better watch out after you eat them!


Monday, October 15, 2012

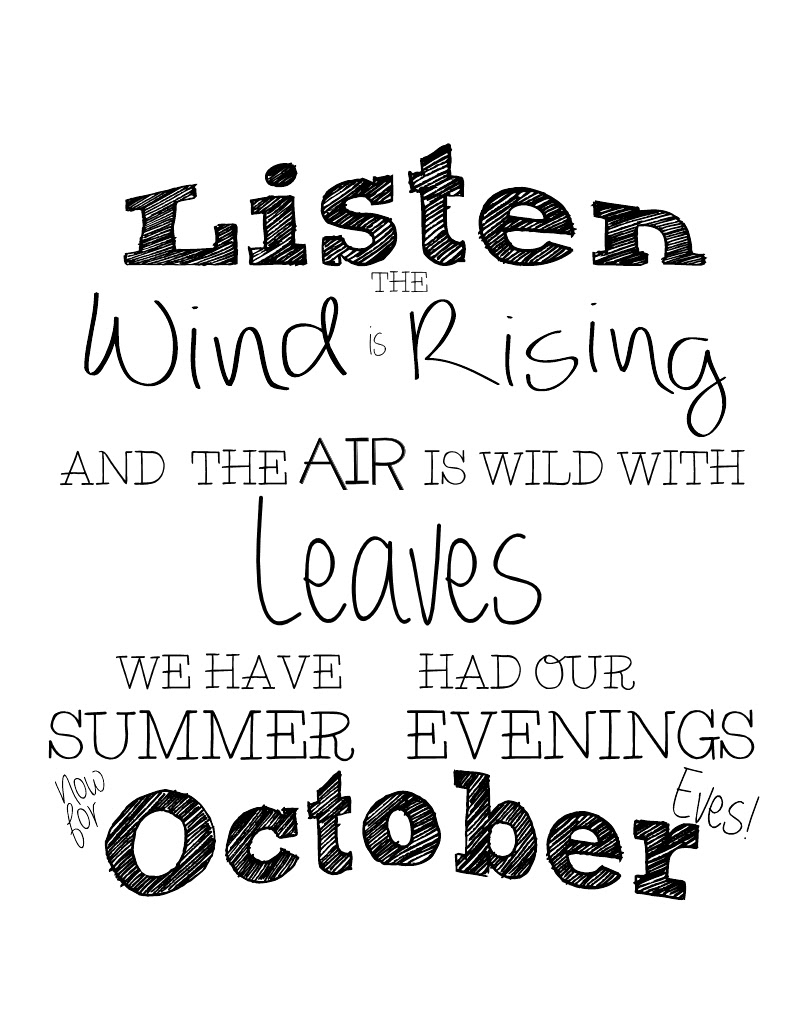
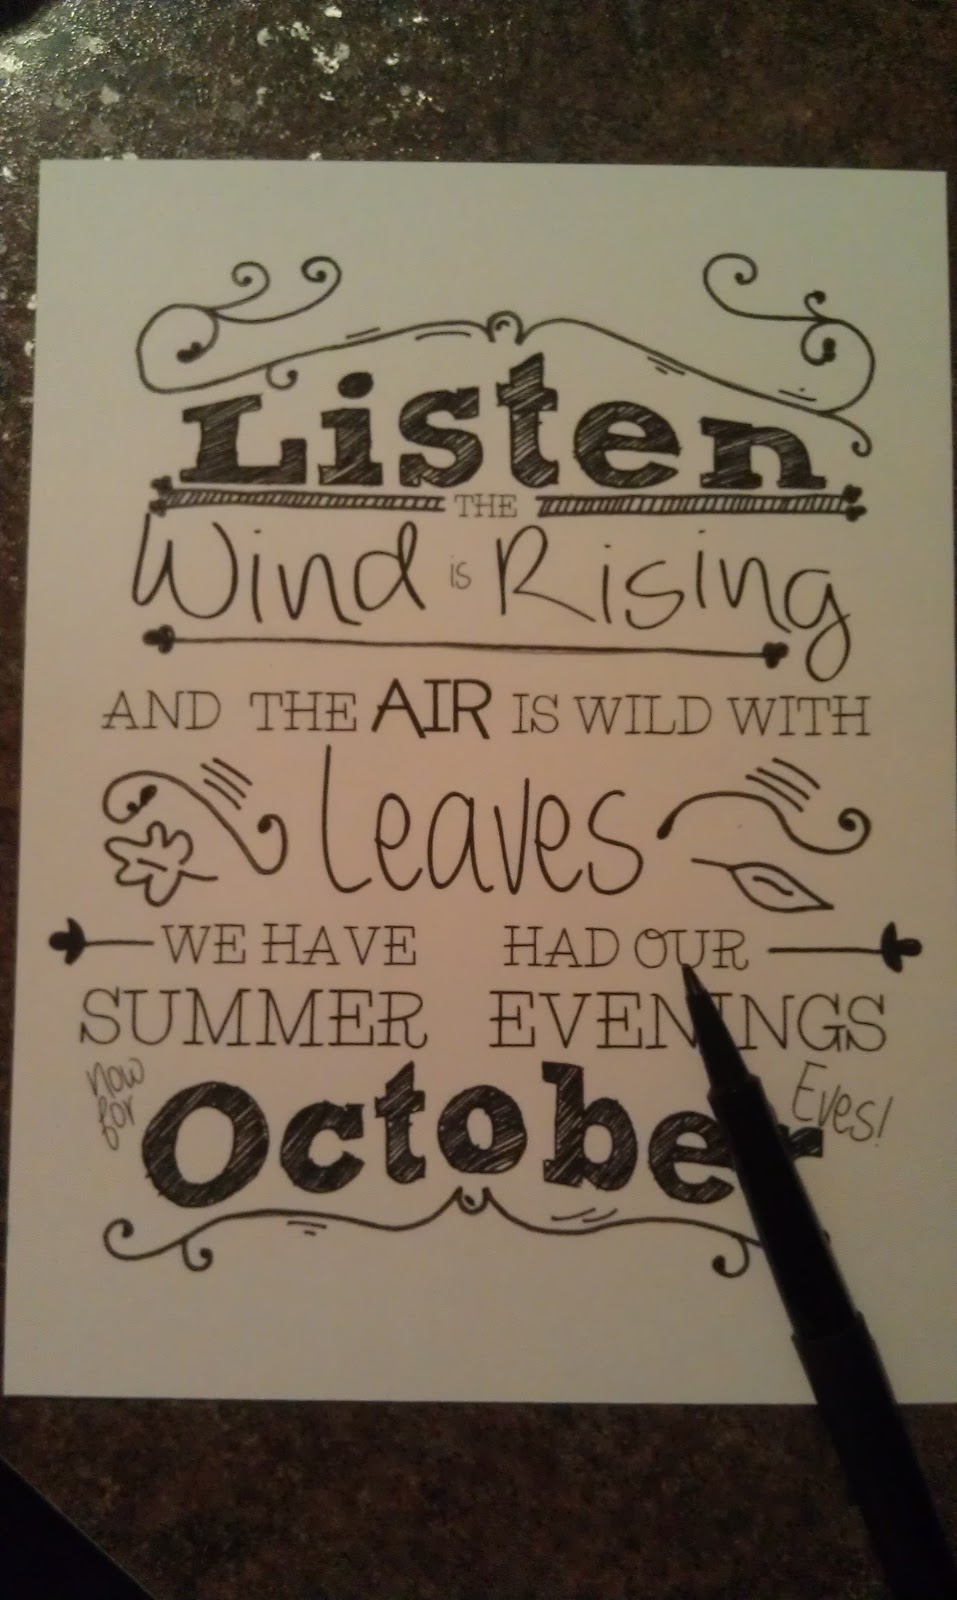
October Quote

I love this quote for October decorations!  I typed it up on Word with some fun fonts, printed it out, and framed it to make a simple way to personalize my fall decorations.
You can print them off in black or orange (I made it available at this link):
 You can also add some details to the quotation.  I first drew details with a pencil and then traced over it with a black felt tip marker.


Saturday, September 29, 2012

Tin-Can Jack-o'-Lanterns

A fun and inexpensive fall/Halloween project is always in the works after September hits.  Here is one that I really love because it is made from recycled cans and left over spray paint!  It cannot get any cheaper than free!

What You Need:
Hammer
Awl
Tin Cans (Various Sizes)
Spray Paint
Clean out cans that you have used, take off the label, fill with water, and put into the freezer.  Trust me...You do not want to skip the freezer part!  This makes it easier to make the holes in the side of the can, and also stop it from deforming. 
Take out the cans when the water is completely frozen.  Find a towel or bag of rice/beans to set the cans on for stability.

Keep on making a design, but robotic designs are easier due to the curves in the can.
Take out the spray paint, and lightly coat the cans a few times.
Add candles for a modern jack-o'-lantern!
This project was so easy and fun, I was able to get Chris to join in on the fun!